The Aunt Inez’s Dress Project
by Rose Litvin, First published for the September/October 2013 issue of Finery

I don’t normally do 1920s. My body lends itself better to Victorian or Edwardian costuming, which happily coincides with my love of corsetry. Recently, however, I received a lavish wedding invitation. I knew that I had to do something fun and different as I read: “A theme celebration in honor of the newlyweds inspired by the movie, ‘Midnight in Paris,’ that will take you back to the glorious age of Paris in the 1920’s…Please dress in French-inspired couture from your Golden Era.”
Different, yes. Fun? I daily question that initial perception and possibly, delusion. First stop: eBay. I searched with visions of something beaded and wearable. Sadly, the sticker shock of online inventory forced me to consider other options. I purchased a beaded 1980s formal thinking I could rework it into my Twenties outfit; but upon its arrival, I decided to scrap that project.
Returning to the same seller, I found two not-so-gently-used dresses. I was intrigued, primarily because I wanted to “fix” something myself after reading “Nan Sews the Dress” blog. Without another thought, I clicked “Buy” and snatched them up for bargain prices. Days later upon delivery, the phrase, “You get what you pay for,” crossed my mind. The description for the dresses didn’t include, “Held together with black electrical tape.”
When I fully unwrapped one of the dresses, a sheer black silk beaded on both sides with a similar pattern, there was a small sticker with flowing writing: “Aunt Inez’s dress circa 1925.”
I admit that I’m a hobbiest: I sew costumes, not historically accurate clothing. I find that “costuming” is a more forgiving hobby than faithfully recreating period dress. I also know very little about conserving clothing or restoring vintage or antique clothing. I decided to recreate rather than restore the dress. Thus, the challenge was on and the “Aunt Inez Dress Project” began.
I started by gently laying the dress in a bathtub of cool water with a tiny bit of oxygenated cleaner. I let the dress soak and repeated the process until the water was clear. I picked up any beads that had fallen off and saved them before opening the bath drain. I then carefully lifted the dress and laid it on several towels to absorb the water. To dry it, I set the dress out on the kitchen island and placed a fan (on low speed) nearby. It dried very quickly. Now came the most nerve-wracking process: dismantling the dress.
Before I did this, I carefully removed the iron-on tape covering some holes, a gummy tag in the back neckline, and the heinous electrical tape. The sides were French-seamed and sewn with the smallest machine stitching I have ever seen. I tried to pick the seams apart, but quickly realized that it caused new damage to the dress. There was nothing I could do except cut the dress apart. Thank goodness for the roomy fit of Twenties fashion! There was enough leeway to reassemble the dress. Another plus in my favor was the bias cut “wings” that drape down from the sides, the hips, and to the hem. I was careful not to cut through or damage these when I took the dress apart. With cautious snips, I separated the dress into two panels.
Patching the silk was another challenge. Foolishly I thought I could somehow adhere bits of silk to fill in the holes in the fabric. Several tests runs of double-sided iron-on tape and various adhesives proved to be futile and frustrating. I went to the GBACG Yahoo Group with my SOS for their collective wisdom. Following several responses, I determined that an adhesive that dried with a clear matte finish did not exist. I stopped looking for the next best adhesive and went on to Plan B.

Previously, I purchased several yards of silk chiffon. (Thank you, eBay for cheap yardage!) This would underline and stabilize the dress; however, in the end I switched to a different color because the sheer materials layered together made the dress too dark. I tried stacking many different poly chiffon colors and settled on a sheer, light umber fabric that, when layered, gave the dress a whole new look that I liked very much. This left me oodles of black silk for patching. Now the challenge was making patches with the smallest of overlaps for me to run tiny stitches of silk thread around the perimeter. Using a #20 needle and a new spool of silk thread I began my restoration. Unfortunately, my ambition and good intentions vanished when I realized that I made a mess of both the dress and the patches.

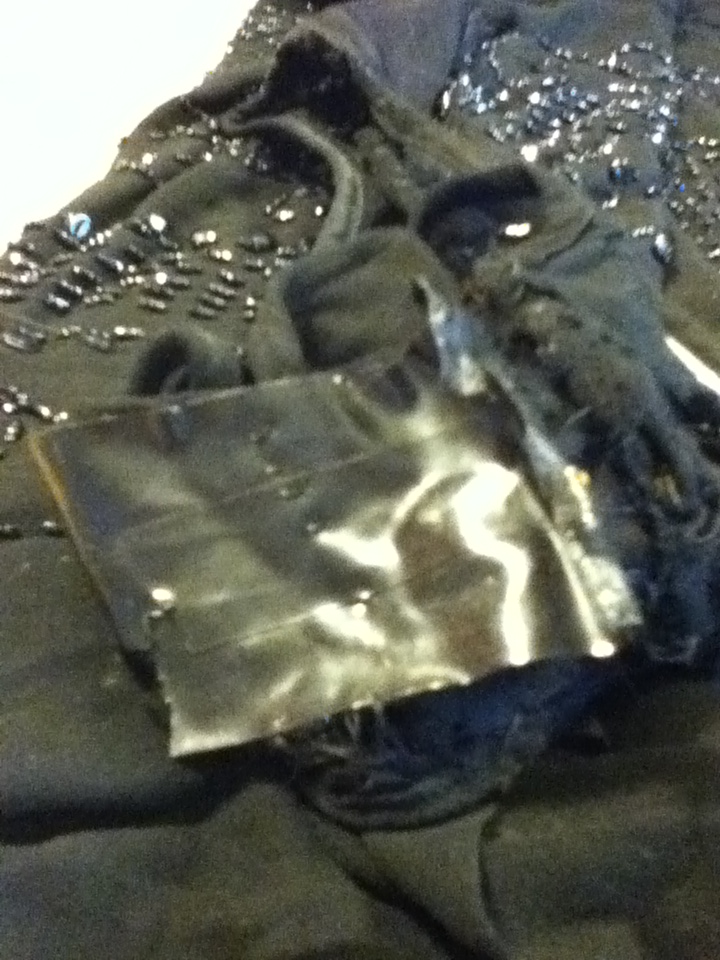
Recalling my experiences with fiberglass repair (another story), I decided to try Fray-Check™ to seal the edges of holes in the dress and to make my own stabilized patches. I did a test run on some spare material and found that using a fine brush and a very small amount of Fray-Check™, I had a sealed edge without a glossy or white rim. I cut a large piece of my spare silk, laid it out on a piece of tinfoil and painted a thin layer of Frey-Check™ over the whole piece. I then hung the piece up to dry and, Voila! I had my homemade, non-fraying silk patch material. I could now cut whatever size of patch I needed without it unraveling.
I still have a lot to do. Once it’s fully patched, I will underline the dress and repair the beading as best I can. From other blogs I’ve learned that one can salvage beads from the turned under hems. (Brilliant idea!) Also, I have to figure out what to do with the shoulders that are very damaged. I may have to cover them completely with an opaque material, possibly velvet. Finally, I have to put together a simple slip. This has been the easiest step of the process. I found a great resource to easily make a DIY 1920’s slip on the American Duchess blog site.

To date, I’ve spent several hours attaching odd shaped patches over both the front and back of the dress. Nevertheless, I’m confident that I will be the “bee’s knees” viewed from across the room. Close up? That may be a different story, but I’m hoping the flow of champagne and soft lighting will reveal this vision of Twenties chic.
You can follow the Aunt Inez Dress Project at http://Tfirah.blogspot.com
Leave a comment