Underneath the Romance: 1830s Skirt Supports
by Catherine Scholar, First published for the September/October 2008 issue of Finery

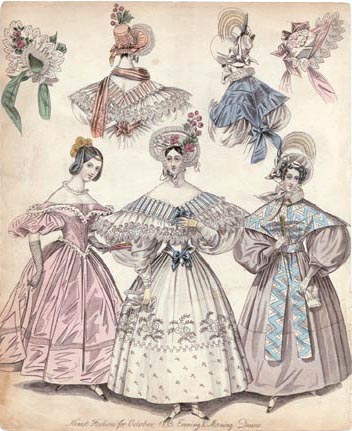
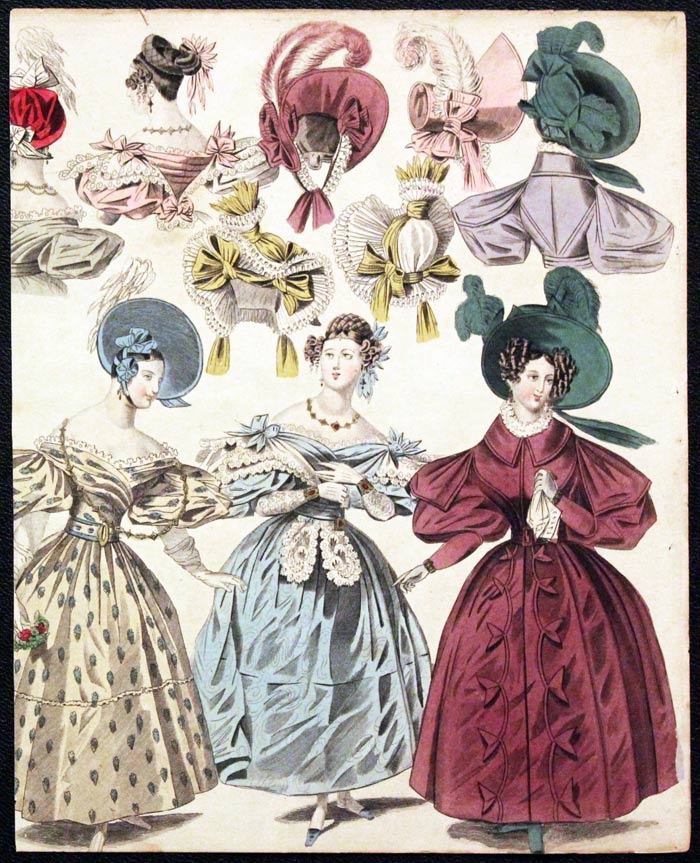
The fashionable silhouette of the 1830s included a bell or dome shaped skirt, which was supported by multiple starched white cotton petticoats. This simple garment is difficult to research, as there isn’t much helpful information available, and few extant garments. In The History of Underclothes, authors Willet and Cunnington offer a typical description of romantic era petticoats: “a number, ranging from four to six, were worn according to the season. Only the outermost was in any sense decorative.” Beneath all was a crinoline (not a hoopskirt or modem bridal petticoat) or corded petticoat.
Willet and Cunnington describe the crinoline as “a knee length petticoat of some stiff material.” An extant example is described as being made of horsehair/wool blend (called crinoline, giving the petticoat its name), six feet in diameter, with five lines of piping (cording) at the hem. To make a crinoline, you might use hair canvas or a stiff net. For a quick and effective petticoat, buy a practice tutu (the long kind), available on eBay or at dance stores. That, with perhaps one cotton one on top, may be all you need.
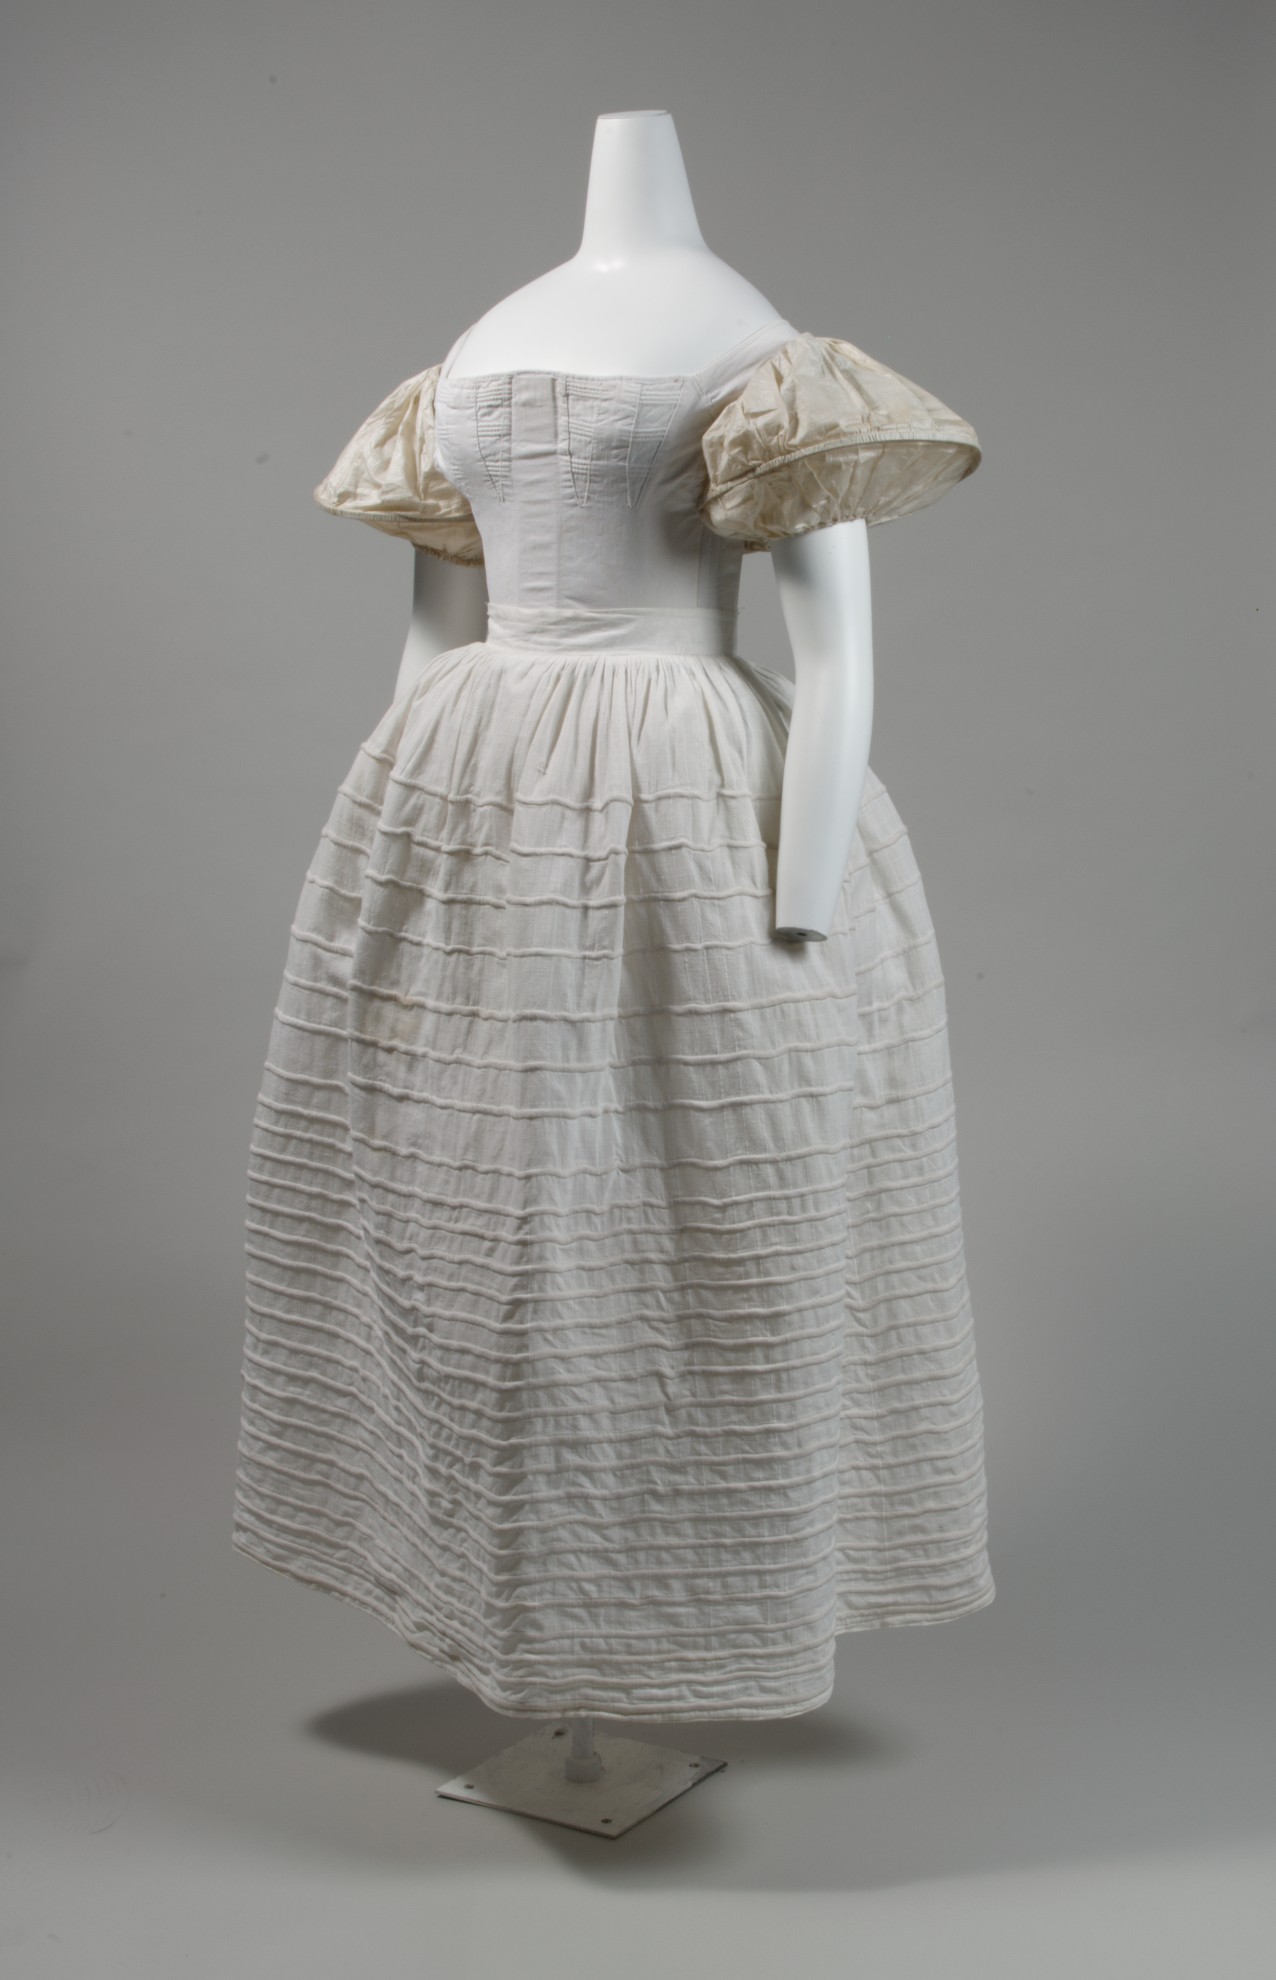
A period alternative is a corded cotton petticoat. This petticoat is mid-calf length and not very full; it will collapse if made much wider than ninety inches. To make one, cut rectangular (not gored) panels of cotton broadcloth, and sew them together along the long vertical seams. Make the petticoat in the round; if you put in the cording flat and then sew up the final seam it will collapse along that seam. For cording, Sugar and Cream crochet cotton works great and is inexpensive. Larger cords will be uncomfortable to wear and sit on, and man-made fibers won’t soak up starch. Put in as many rows of cording as possible, up to the mid-thigh. Twenty rows is a minimum, and sixty is not too many. You can sew each row individually by folding the fabric around the cord and stitching it with a zipper foot, like making piping. This will obviously add to the length of your petticoat panels so plan accordingly! Or make a very large hem facing (to mid-thigh) and sandwich the cording between the petticoat and facing, again stitching it with a zipper foot. The second method allows you to stack the cords tightly against each other for more stability.
Above the crinoline or corded petticoat are several cotton petticoats, as many as you can stand to make and wear. These should be made with straight widths of fabric, not gores, since you want the big-hip look. They can be the width of your dress skirt or a bit narrower, and should be about two inches shorter. You can make them stiffer, to add width, by adding flounces, tucks, or more cording to them. A flounced petticoat with 3 or 4 ruffles will add enormously to your skirt width. You can add a bit more stiffness by setting the flounces on to the petticoat with a cord, and you can stiffen the hems of both the petticoat and the flounces with more cord if you like. The downside to the flounced petticoat is that it’s a beast to starch and iron. Tucks are time-consuming to make but really add to the stiffness of a petticoat, and are easier to maintain than flounces. You can make your top petticoat as pretty as you like with eyelet, embroidery, or other trim.
Another feature of the 1830s skirt silhouette is that the skirts were fuller in the back than the front. Women at the time wore bustles, which were much smaller than late-Victorian skirt supports. Extant bustles take many forms, but common ones were a half-moon of cotton, stuffed with batting about an inch thick, to fill in the small of the back and support the skirts. Another variety was made of three graduated cotton frills, set onto a waistband. A useful technique is to set your petticoats on to their waistbands with most of the fullness in the back; about 1/3 of the skirt in front and 2/3 in back. You can also use the period technique of the half-fitted waistband: make the waistband several inches too large, and pleat or gather the petticoat on to it, either evenly or with more fullness in back. Run a drawstring through the waistband, and then without drawing it up, stitch through the band, drawstring and all, at the side seams. When you put on the petticoat the string will draw up the petticoat at the back only, giving the correct silhouette.
All these waistbands may add bulk to your waist and make it hard to close your dress. You can solve this problem by making some of the lower layers of petticoats with waistbands a couple inches too big, so the skirts will settle lower on your hips. That way you can “stack” your waistbands and not add bulk in the wrong place.
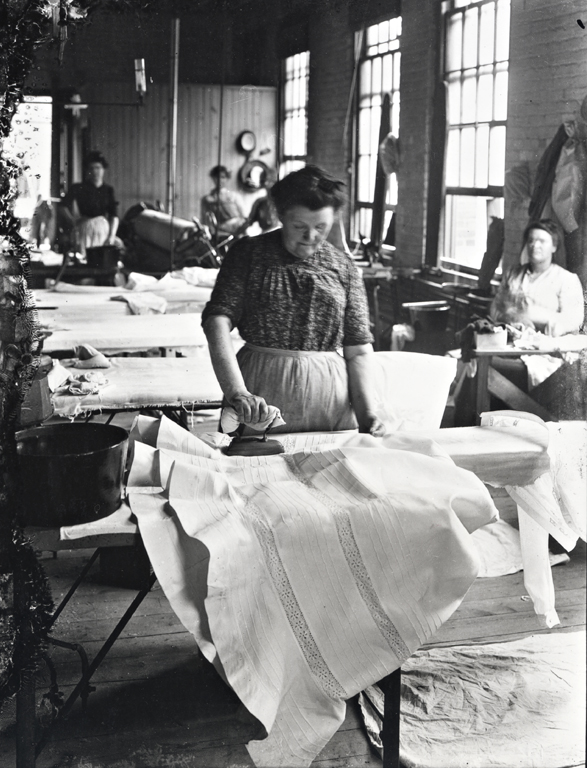
Once your petticoats are made, the last step is to starch them. Use liquid starch; spray starch is not strong enough. Mix it up in a bucket according to the heavy starch recipe on the bottle. Dip in your clean, dry petticoats and then wring them out. Alternatively, you can do all that with the “rinse and spin” setting on a washing machine; just make sure you don’t rinse out the starch! Hang the petticoats to dry. Once they are dry, they are wearable, but the optional final step is to sprinkle the petticoats with water and then iron them. This will give your petticoats a glassy shine, and distribute the starch evenly. To refresh wilted petticoats, just re-sprinkle and iron. So many petticoats take a lot of effort to make, maintain and wear. The corded petticoat and crinoline disappeared almost immediately when the hoopskirt appeared in the mid 1850s, and it’s easy to see why. But the multiple petticoats have their own demure charm, perfectly in character with the early years of Victoria’s reign.
Leave a comment